如何使用 Provider 在 Flutter 中创建动态主题
- 发表于
- flutter
如何为您的flutter应用添加动态暗黑深色模式?
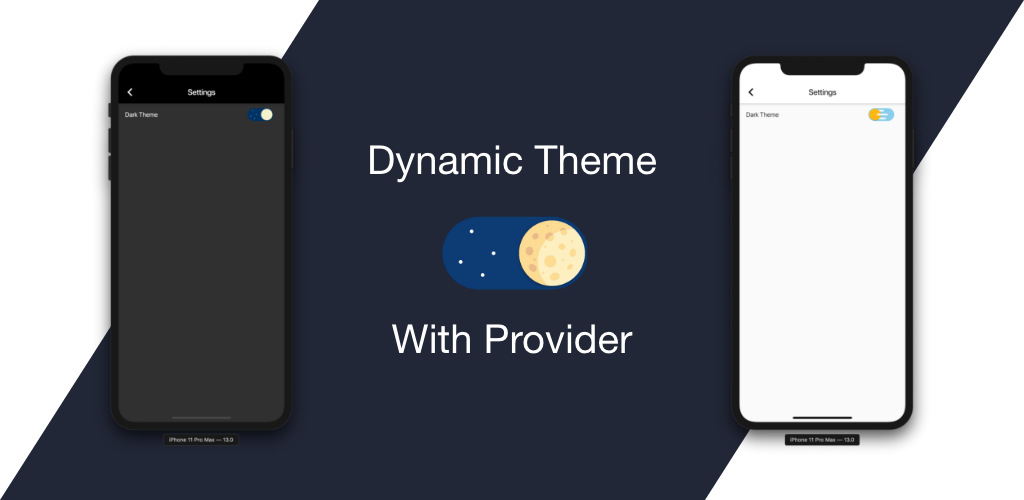
我们都喜欢应用程序中的主题。尤其是所谓的黑暗主题。深色主题现已成为移动应用程序的重要组成部分。所有主要应用程序都支持深色主题,有些应用程序甚至默认使用深色主题。
深色主题可降低设备屏幕发出的亮度,同时仍能满足最低色彩对比度。它们通过减少眼睛疲劳、根据当前照明条件调整亮度以及促进屏幕在黑暗环境中的使用来帮助改善视觉人体工程学——同时节省电池电量。配备 OLED 屏幕的设备可以在一天中的任何时间关闭黑色像素。
好吧,我们知道了黑暗主题的魅力,这就是我们在这里的原因!因此,让我们让这种力量颤抖吧。
Provider 在 Flutter 中创建动态主题
将provider包插件添加到
pubspec.yaml
文件
| 1 2 | dependencies: provider: ^3.1.0 |
创建两个主题——浅色主题和深色主题。我已经手动完成了,但您可以使用 panache 来创建主题。
| 1 2 3 4 5 6 7 8 9 10 11 12 13 14 15 16 17 18 19 20 21 | import 'package:flutter/material.dart'; final darkTheme = ThemeData( primarySwatch: Colors.grey, primaryColor: Colors.black, brightness: Brightness.dark, backgroundColor: const Color(0xFF212121), accentColor: Colors.white, accentIconTheme: IconThemeData(color: Colors.black), dividerColor: Colors.black12, ); final lightTheme = ThemeData( primarySwatch: Colors.grey, primaryColor: Colors.white, brightness: Brightness.light, backgroundColor: const Color(0xFFE5E5E5), accentColor: Colors.black, accentIconTheme: IconThemeData(color: Colors.white), dividerColor: Colors.white54, ); |
当主题准备就绪时,我们创建一个主题通知器类来通知我们主题更改:
| 1 2 3 4 5 6 7 8 9 10 11 12 13 14 | import 'package:flutter/material.dart'; class ThemeNotifier with ChangeNotifier { ThemeData _themeData; ThemeNotifier(this._themeData); getTheme() => _themeData; setTheme(ThemeData themeData) async { _themeData = themeData; notifyListeners(); } } |
接下来我们用
ChangeNotifierProvider
包装我们的应用程序。然后我们可以使用
ThemeNotifier
来获取主题。
| 1 2 3 4 5 6 7 8 9 10 11 12 13 14 15 16 17 18 | void main() => runApp( ChangeNotifierProvider<ThemeNotifier>( builder: (_) => ThemeNotifier(darkTheme), child: MyApp(), ), ); class MyApp extends StatelessWidget { @override Widget build(BuildContext context) { final themeNotifier = Provider.of<ThemeNotifier>(context); return MaterialApp( title: 'Chitr', theme: themeNotifier.getTheme(), home: HomePage(), ); } } |
是时候手动更改主题了。我们使用
DayNightSwitch
来做到这一点——它就像 Flutter 中的普通开关小部件一样工作。在
DayNightSwitch
的
onChanged
回调中,我们调用了
onThemeChanged
方法,该方法使用
themeNotifier
设置主题并通知整个应用程序。当然,您也可以不使用
DayNightSwitch
或用switch小部件实现。
| 1 2 3 4 5 6 7 8 9 10 11 12 13 14 15 16 17 18 | void main() => runApp( ChangeNotifierProvider<ThemeNotifier>( builder: (_) => ThemeNotifier(darkTheme), child: MyApp(), ), ); class MyApp extends StatelessWidget { @override Widget build(BuildContext context) { final themeNotifier = Provider.of<ThemeNotifier>(context); return MaterialApp( title: 'Chitr', theme: themeNotifier.getTheme(), home: HomePage(), ); } } |
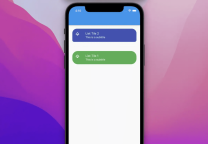
只需几行代码,我们就可以动态更改应用程序的主题。让我们看看它是什么样子的:
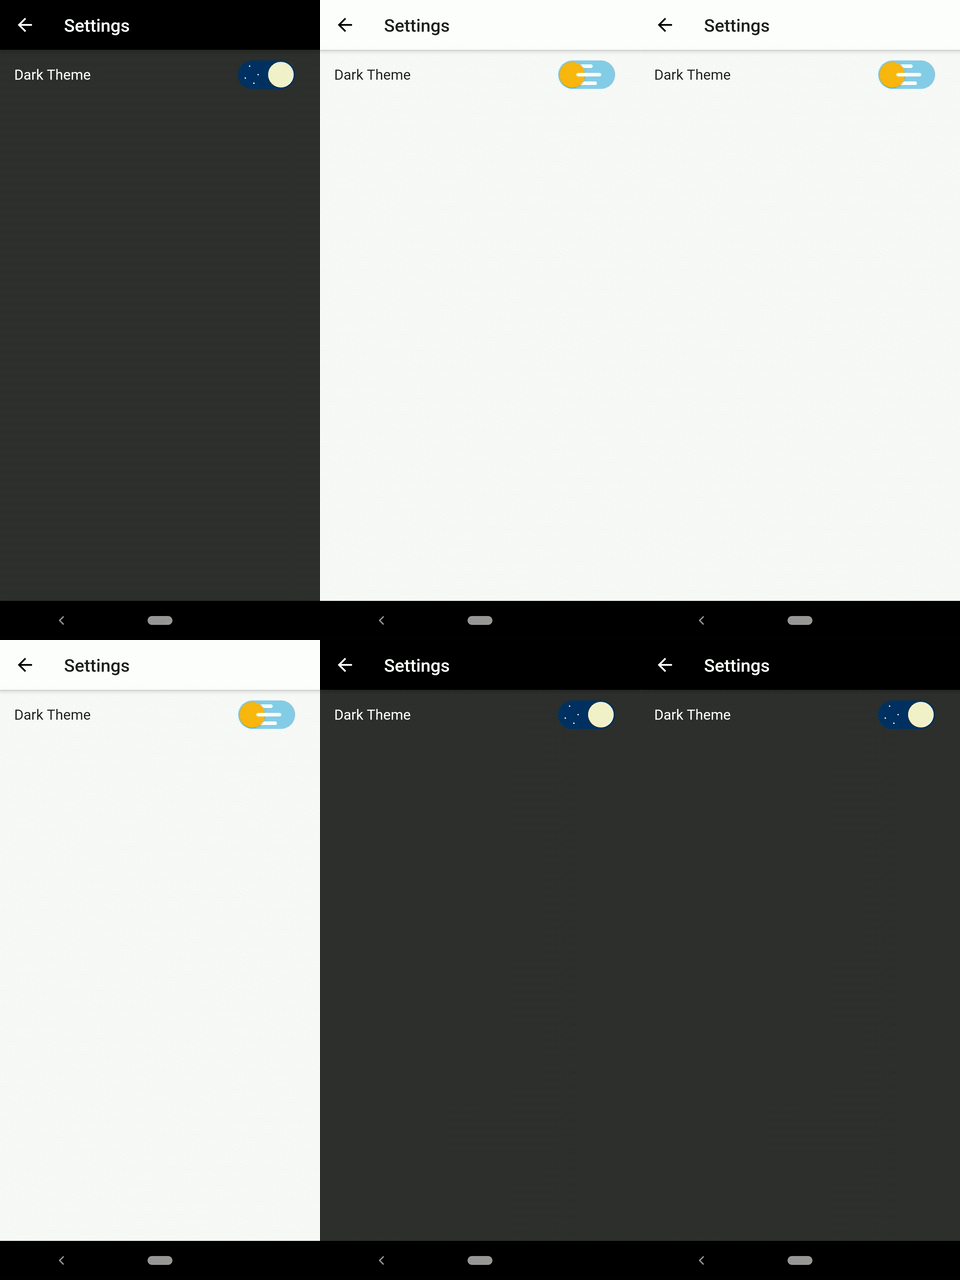
看起来很神奇,但是……
我们的主题没有被保存——如果我们重新启动应用程序,它会恢复默认值。所以我们使用
SharedPreferences
来存储当前主题。在
onThemeChanged
方法内部,我们保存当前主题。
| 1 2 3 4 5 6 7 | void onThemeChanged(bool value, ThemeNotifier themeNotifier) async { (value) ? themeNotifier.setTheme(darkTheme) : themeNotifier.setTheme(lightTheme); var prefs = await SharedPreferences.getInstance(); prefs.setBool('darkMode', value); } |
我们在 main 方法中使用
SharedPreferences
值:
| 1 2 3 4 5 6 7 8 9 | SharedPreferences.getInstance().then((prefs) { var darkModeOn = prefs.getBool('darkMode') ?? true; runApp( ChangeNotifierProvider<ThemeNotifier>( builder: (_) => ThemeNotifier(darkModeOn ? darkTheme : lightTheme), child: MyApp(), ), ); }); |
原文连接
的情况下转载,若非则不得使用我方内容。 

